Sometimes, to refresh the look of your home, you don’t need a full renovation or to buy new furniture. It’s enough to pay attention to the small details we pass by every day but rarely notice: switches, sockets, and ceiling recessed light frames (halogen trims).
At first glance, these elements might seem simple and purely functional, but in reality, they play a crucial role in visual harmony, the feel of a space, and even the distribution of light. A beautifully designed recessed ceiling frame in the living room or a modern switch on the wall can be that subtle point that transforms the décor from “ordinary” to “delightful and eye-catching.”
In interior design, beauty lies in the details. Just as the color of the curtains or the material of the flooring affects the feel of a room, the right choice of switches, sockets, or recessed ceiling trims can transform the atmosphere. When these elements coordinate with wall colors, lighting style, and furniture form, the result is more than just aesthetic appeal—it’s a home that feels cohesive, warm, and harmonious.
On the other hand, replacing these components is one of the simplest and most cost-effective ways to refresh the appearance of a home. Without major renovations or high costs, just a few smart design and color choices can bring freshness and order back to a space.
In the following sections, we will explore step by step the key considerations when updating switches, sockets, and recessed ceiling trims—from choosing colors and materials to ensuring harmony with lighting and décor—so you can achieve a more beautiful, modern, and visually appealing home.
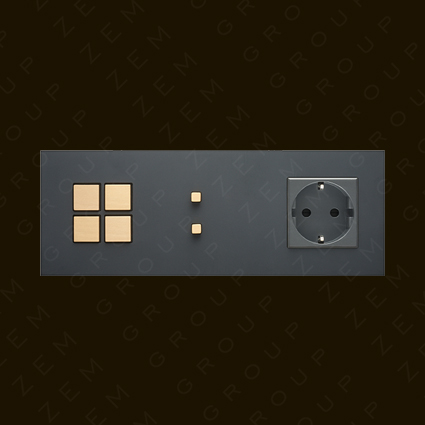
Switches and Sockets: Small Details with Big Impact
When it comes to interior design, the focus often falls on wall colors, furniture, or lighting. However, switches and sockets are a key part of the overall visual composition, often overlooked. Yet these small elements can significantly enhance the sense of order, luxury, and cohesion in a home.
Imagine a white wall in your home with a black or bronze glass switch and socket installed—a subtle color contrast draws the eye without cluttering the space. Or in a classical home, metallic toggle switches in gold or bronze can bring a sense of authenticity and warmth.
In modern interior design, switches and sockets are no longer just tools for electrical control—they are part of the décor. Leading brands now offer collections to match any style, from minimalist designs with clean lines and neutral colors to unique pieces with wood or marble frames.
1. Choosing the Right Color
The color of your switches and sockets should complement the wall or surrounding materials:
-
Bright spaces: Neutral tones like matte white or silver create a clean and calm look.
-
Dark or industrial spaces: Colors like matte black or graphite gray provide a modern and luxurious feel.
-
Classic décor: Warm tones such as bronze or gold are popular choices.
For a touch of contrast, consider frames in different colors to turn switches and sockets into accent points in the space.
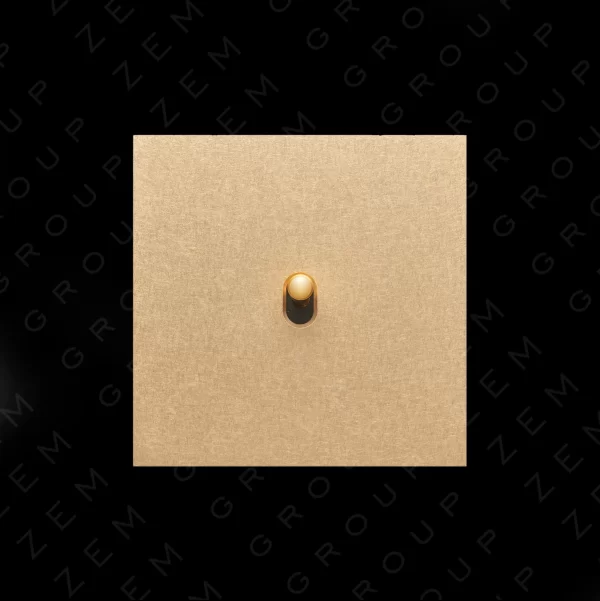
2. Material: From Plastic to Glass and Metal
In the past, most switches and sockets were made from simple plastic. Today, the material range is far broader:
-
Glass: Smooth and modern, perfect for minimalist interiors.
-
Metal (steel or brass): Durable, shiny, and suitable for luxurious or classical spaces.
-
Wood or wood-patterned frames: Bring warmth and natural appeal, popular in Scandinavian or rustic designs.
The right material choice affects not only aesthetics but also the tactile feel and perceived quality.
3. Coordinating with Interior Style
Every décor style has its own language, and switches and sockets should align with it:
-
Modern and minimalist: Simple lines, neutral colors, no extra decoration.
-
Classic and neoclassical: Embossed forms, warm colors, glossy materials.
-
Industrial: Dark tones and metal finishes.
-
Boho or natural: Wooden frames, cream and beige tones.
4. Placement and Visibility
Switches are rarely installed at eye level, but they are visible—especially in areas like entrances, living rooms, and bedrooms. Their design should suit both viewing angles and wall lighting. In special spaces, decorative or framed switches can even become design features.
The right choice of switches and sockets balances function, beauty, and style. A small change in appearance can transform the overall feel of the home.
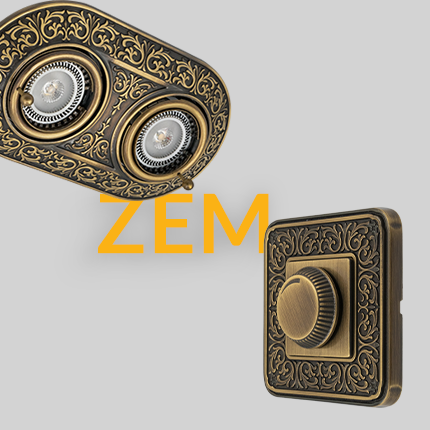
Highlighting ZEMGROUP Switch Models
Today, switches and sockets are no longer limited to white or cream. Brands like ZEMGROUP offer a wide range of designs, colors, and materials, allowing full coordination with any décor style. Here are some popular types:
-
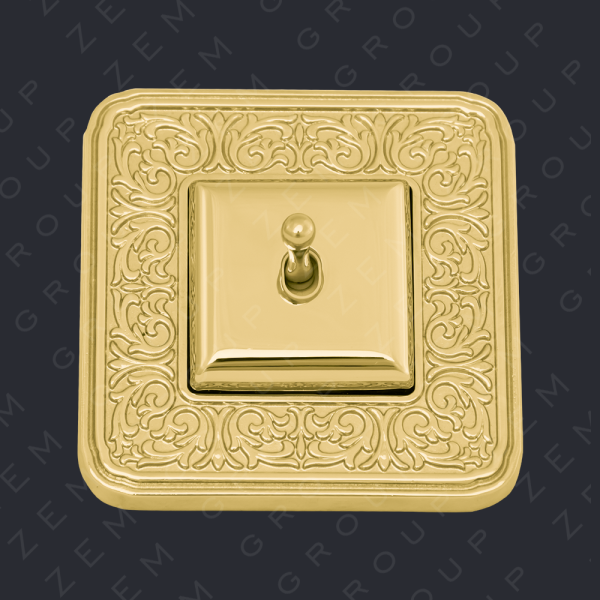
Toggle Switches:
Inspired by classic designs, these metal switches with subtle gold or bronze accents suit classical, neoclassical, or retro interiors. They harmonize well with mirrors, golden frames, or warm lighting. -
Glass Switches:
Sleek and shiny, glass switches convey luxury and modernity. Transparent or colored (black or white) frames pair perfectly with smooth, bright walls. Ideal for minimalist, modern, or smart homes. -
Metal Switches:
Options in matte silver, graphite black, or bronze provide a professional, durable, and luxurious look. Perfect for offices, modern kitchens, or stone-textured walls. -
Wooden Switches:
Natural wood or wood-patterned frames create warmth and intimacy, complementing soft lighting and light ceilings for a cozy, lively home feel. -
Smart Switches:
Minimalist and modern in appearance, they allow remote control of lights, curtains, or ventilation, combining beauty with advanced technology.
Tip for cohesion: Choosing switches from the same series ensures uniformity in color and material across rooms, enhancing order and professional design.
Technical Principles for Replacing Switches and Sockets
A beautiful home isn’t just about looks—the method of installation and technical considerations are equally important.
Replacing switches and sockets may seem straightforward, but ignoring technical details can be risky or costly.
1. Safety First
Before starting any work, turn off the main power at the breaker. Merely turning off the light does not cut the current. Using a voltage tester ensures safety. Gloves and proper tools prevent shocks or injuries.
2. Check Wiring Condition
In older homes, wires may be worn, thin, or lack grounding. Modern switches (dimmers, touch controls) may require updated wiring. For smart switches, ensure a neutral wire is present.
3. Choose the Right Switch Type
-
Single-pole: Controls one light source (e.g., bedroom).
-
Double-pole: For dual lights, like living rooms.
-
Three-way: Controls one light from multiple points (hallways, staircases).
-
Dimmer: Adjusts light intensity for comfort and focus.
-
Smart: Remote control via phone or home system.
4. Choose Appropriate Sockets
-
Standard power outlets
-
USB outlets for phones and tablets
-
Antenna/network outlets for TV or internet
-
Grounded outlets for high-power devices (washing machines)
5. Check Boxes and Installation Location
Ensure wall boxes are deep and sized appropriately, as some modern switches have larger frames. Proper leveling prevents a crooked appearance.
6. Balance Aesthetics and Function
Always balance beauty, safety, and durability. Using quality brands ensures design appeal and compliance with standards. If inexperienced with electrical work, hire a professional for clean and safe installation.
Ceiling Recessed Light Frames (Halogen Trims)
Light is the soul of any space—even the most stylish décor appears cold and lifeless without proper lighting. Proper light distribution makes colors more vibrant, details sharper, and textures richer. Recessed ceiling trims are the final touch that can elevate a room from simple to luxurious and visually striking.
Recessed trims: Small element, big impact
A trim is more than just a lamp holder—it guides light and completes ceiling aesthetics. The right trim softens light, creates natural shadows, and can even enhance perceived ceiling height. It combines technical function with aesthetic appeal, needing durability and stylistic harmony with décor.
Impact of light and trim design:
-
Classic spaces: Brass or gold trims reinforce a sense of elegance.
-
Modern/minimal: White or matte black trims focus attention on light and form.
-
Luxury: Crystal or shiny metal trims reflect light for a striking effect.
Key considerations when choosing trims:
-
Harmony with décor
-
Material durability
-
Beam angle and trim depth
-
Color and finish: White for light ceilings, gold/black for decorative ceilings
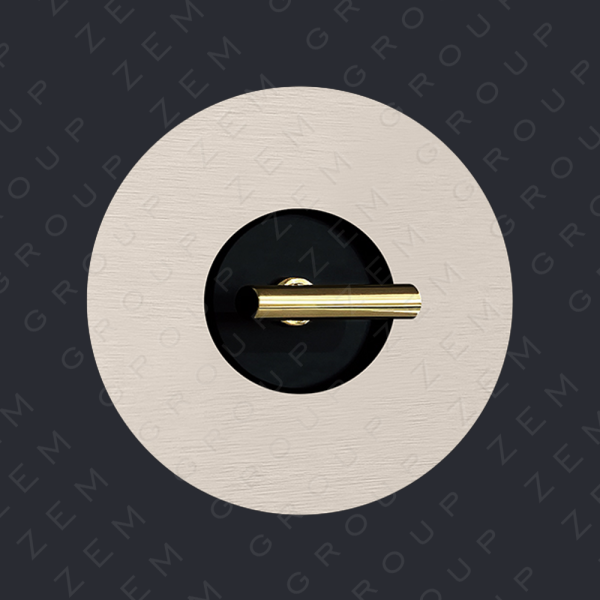
ZEMGROUP Recessed Ceiling Trim Models
-
Classic Brass Trim:
Warm bronze color, embossed design. Soft, even light, ideal for living rooms or lounges. -
Crystal Trim:
Metal body with crystal embellishments for a luxurious ceiling effect. Reflects light, perfect for bedrooms and elegant spaces. -
Modern/Minimal Trim:
Simple lines, white or matte black. Concentrated or diffused light, suitable for modern kitchens or hallways. -
Adjustable Trim:
Beam angle adjustable for targeted lighting (highlighting artwork, cabinets, dining tables). Works well with dimmer switches.
ZEMGROUP Switch Models
-
Classic Toggle: Brass or gold, delicate levers for classic/neoclassical interiors.
-
Modern: Smooth, glossy, transparent or colored surfaces for minimalist designs.
-
Metallic: Silver, graphite, or bronze for durable, professional, luxurious appeal.
-
Smart: Minimalist, modern, remote-controllable switches combining aesthetics with technology.
Coordinating Switches, Sockets, and Ceiling Trims
Properly selected and combined, switches, sockets, and recessed trims not only enhance visual beauty but also strengthen the sense of harmony and calm in a room.
1. Color and Material Coordination
-
Match trim and switch colors (e.g., brass trim with metallic toggle switch).
-
Match materials (e.g., crystal trim + crystal switch, brass trim + classic switch, simple white trim + minimalist switch).
2. Style Coordination
-
Classical/neoclassical: embossed, warm tones
-
Modern/minimal: simple, neutral
-
Luxury: crystal or shiny metal, glass or metallic switches
3. Lighting and Function
-
Use dimmers or adjustable trims for control over light intensity and ambiance.
-
In kitchens or high-use areas, combine adjustable trims with dimmers for optimal brightness and atmosphere.
4. Practical Tips
-
Compare colors and materials before installation
-
Use repeating patterns in open spaces for consistency
-
Stick to the same product series for a professional look
-
Coordinate light and color with furniture and flooring for full cohesion
Common Mistakes in Updating Switches, Sockets, and Trims
-
Choosing the wrong color or material: Creates visual discord. Test samples before buying.
-
Ignoring décor style: A classic switch in a minimalist room looks out of place.
-
Overlooking safety standards: Work without turning off electricity or checking wiring is dangerous.
-
Mismatched trims and switches: Different colors and materials without planning ruin harmony.
-
Improper lighting choice: Too warm or too cold light clashes with décor. Use dimmers or adjustable trims.
FAQs
-
Do I need an electrician to change switches and sockets?
Yes, especially for old wiring or smart/dimmer switches. Professional help ensures safety and correct function. -
Which trim color suits a white ceiling best?
Simple white or matte silver/metal trims usually work best. Decorative ceilings may use bronze, gold, or black for contrast. -
Can modern trims be installed in a classic ceiling?
Yes, but choose simple, low-detail trims to avoid excessive contrast. -
Difference between dimmer and smart switches:
-
Dimmer: Adjusts light intensity for different moods.
-
Smart: Allows remote control via phone or home system.
-
-
What is the use of adjustable trims?
They let you change the light angle, ideal for highlighting elements like artwork, dining tables, or cabinets. -
Can switches, sockets, and trims be the same color/material?
Yes, using the same series ensures visual harmony and professional appearance. -
How long does installation take?
Depending on quantity and complexity, from half a day to a full day. Professional installation is faster and more precise.